Computer Build Parts
Additional Parts
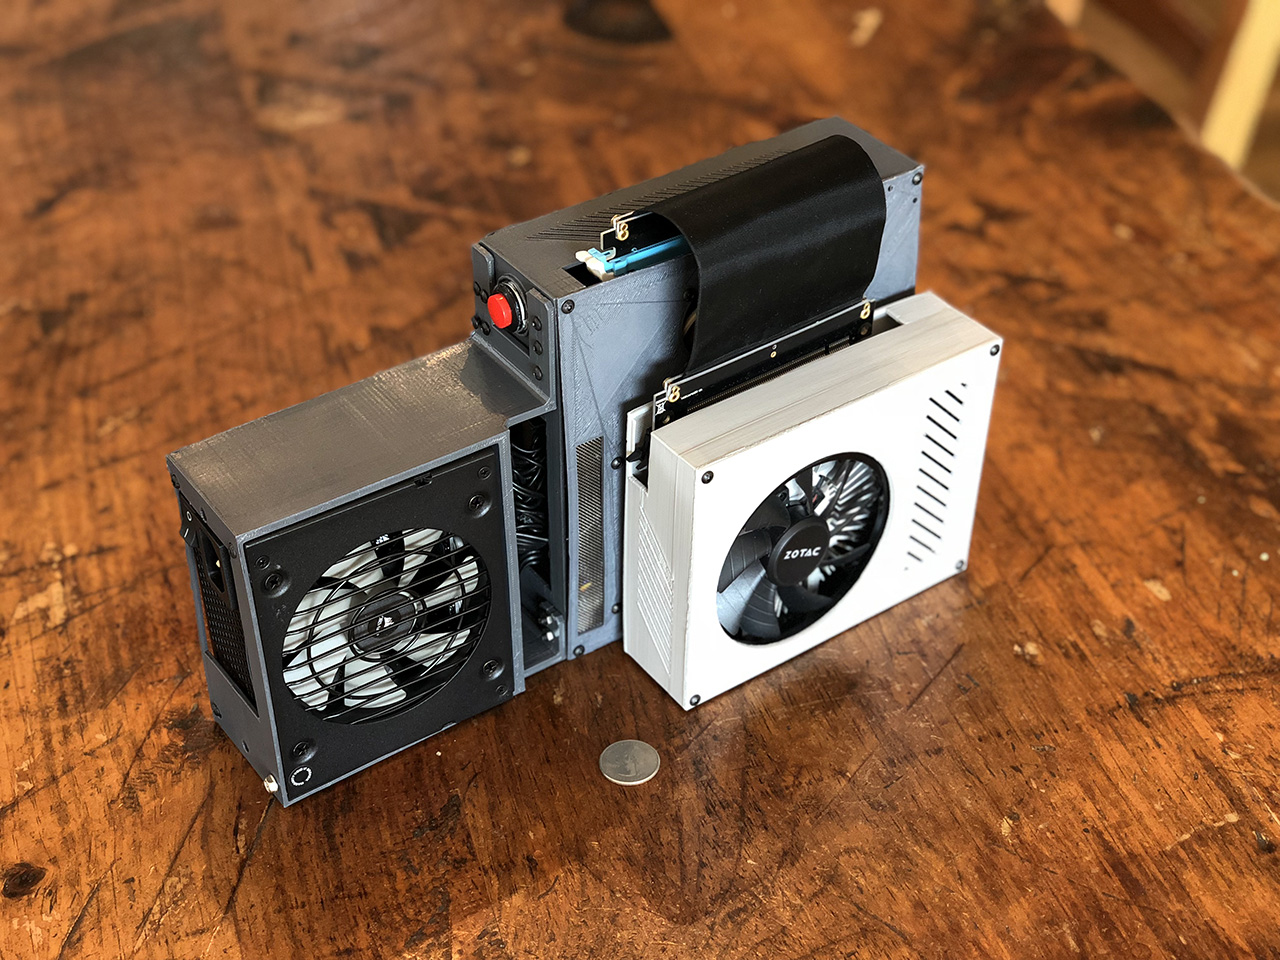
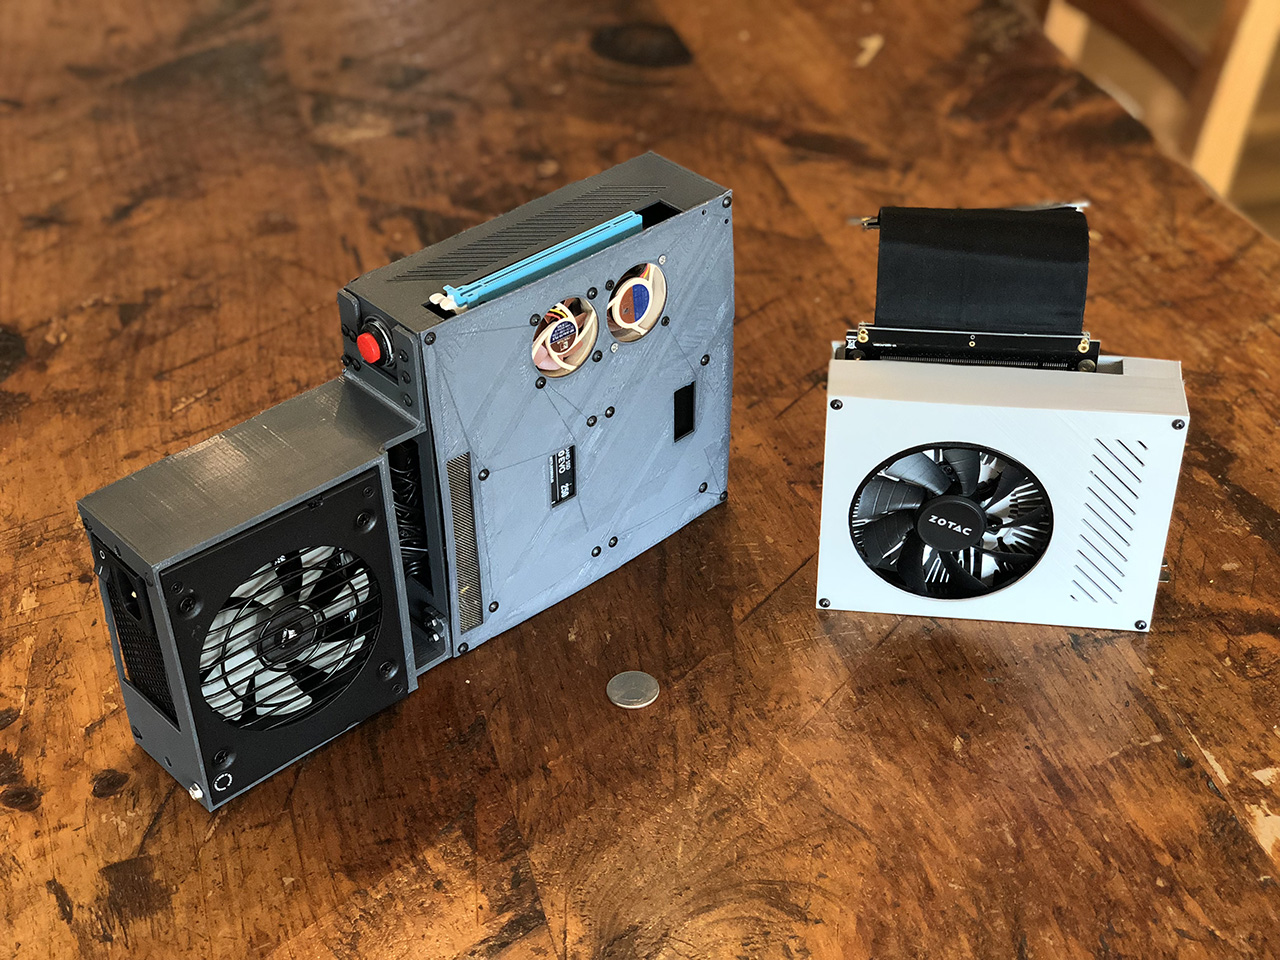
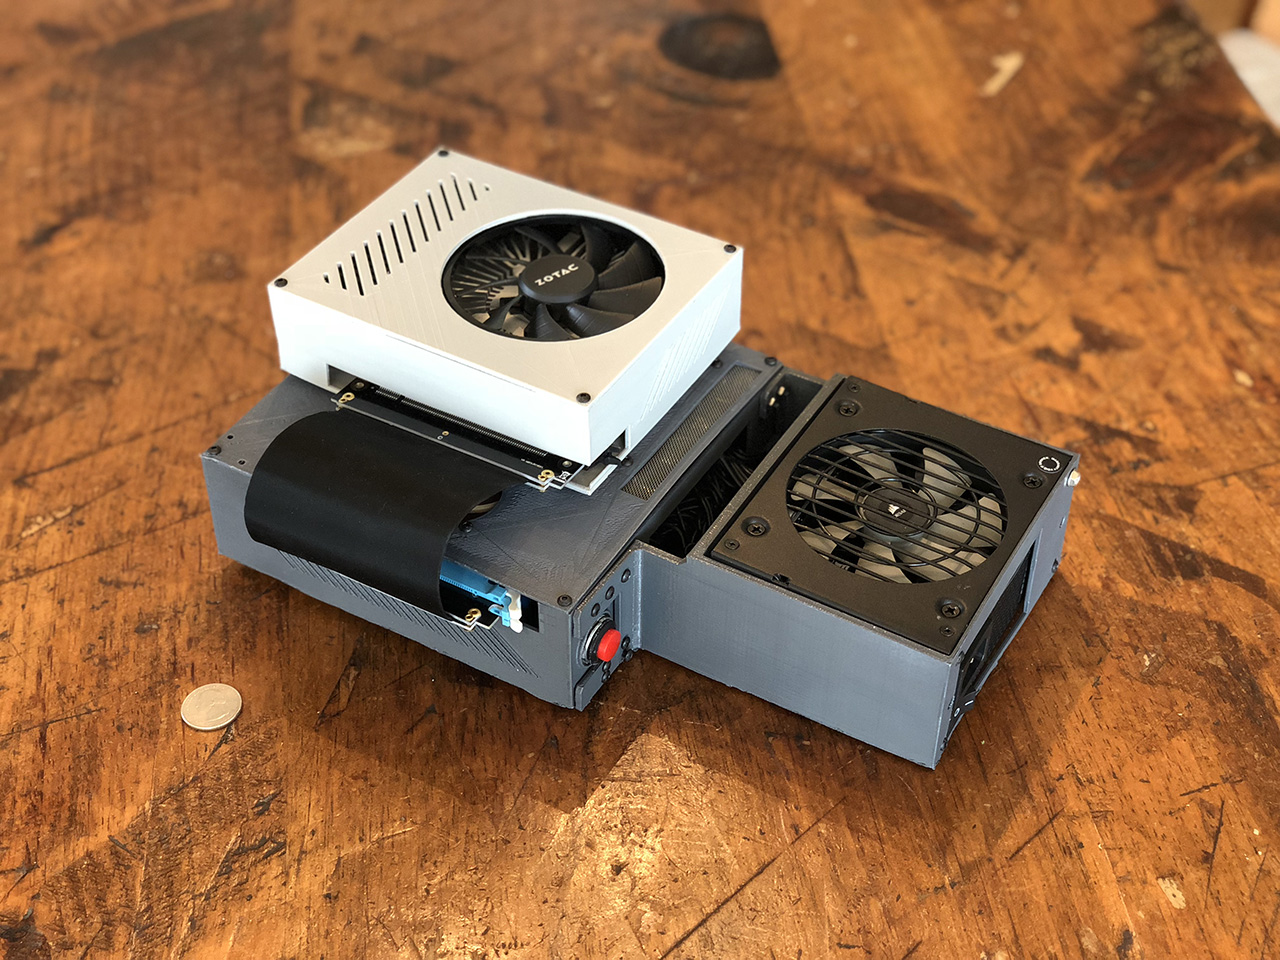
Hardware Assembly
- Install the CPU, CPU Fan, RAM and PCIe right angle connector onto the motherboard.
- Screw the PSU piece onto the motherboard piece.
- Connect short breadboard wires to the power button and glue it into place on the motherboard piece
- Insert the motherboard and the backplate into the motherboard piece. I had to cut some extra bit off my motherboard plate so it can fit into a case this small.
- Attach the power button wires to the power switch motherboard pins.
- Use metal mesh to cover up any holes you're not using in your build. If using the Z270M style motherboard, you'll use the rectangular hole in the lid, and if you're not, you can cover it up this way.
- Screw the motherboard into place from the bottom using M3x12mm screws.
- Screw the hard drives onto the inside of the lid in the same orientation as the attached images, and attach SATA data and power cables.
- Screw the fans into place onto the inside of the lid.
- Insert the PSU into place and screw in using the screws that came with it.
- Connect the PSU cables to the motherboard (ATX, CPU, SATA)
- Close the lid and screw together from top.
- Glue the GPU l-bracket pieces onto the bottom of the GPU base piece in the slots.
- Insert the GPU into the GPU base piece and screw in from the bottom.
- Screw the GPU lid piece on top
- Slide in the GPU piece into the motherboard piece.
- Connect the PCIe extension cable from the GPU to the motherboard PCIe right angle connector.
Software Setup
- I use the "Unified Remote" app/software to make buttons to launch games, removing the need for a mouse/keyboard.
- Optionally you can dual boot SteamOS and Windows, or run one or the other.
- Optionally you can search online for game emulation software. Remember to buy the games you emulate, support the developers!
Future Improvements
- This case is a great framework to create more on top of.
- Would like to get even more modular, being able to disconnect the PSU more easily for example.
- There is a pico-PSU version of this i'm working on as well.
- I would like to create a hardware controller for this that launches games.
- The GPU L-bracket pieces are somewhat fragile and I'd like to work on a better way of connecting it to the motherboard piece.
Discussion
|