Electronics+Design project to make a device that automatically copies files from one inserted device to another with an incorporated SD card reader (both sizes).
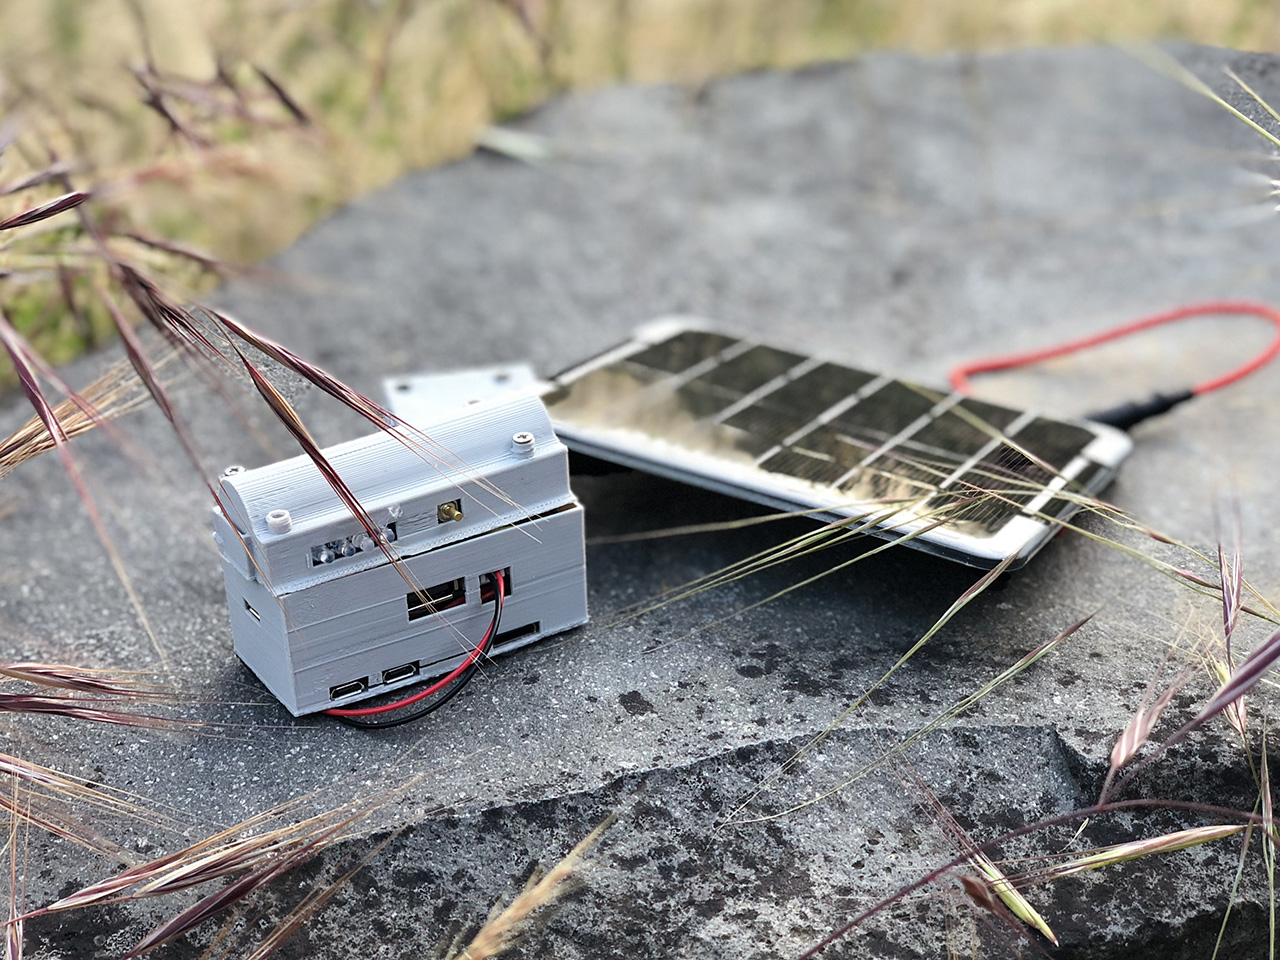
This project started because of my combined passions for drone photography, travel, and not wanting to bring a laptop just to backup SD cards in case the drone falls off a cliff. Since I always bring a backup battery too, this seemed like a good combination. Plus now I can solar charge my battery when backpacking!
3D Printed STL Files on Thingiverse
Python script to automatically copy files
Keep reading for assembly information and more details!
This project started because of my combined passions for drone photography, travel, and not wanting to bring a laptop just to backup SD cards in case the drone falls off a cliff. Since I always bring a backup battery too, this seemed like a good combination. Plus now I can solar charge my battery when backpacking!
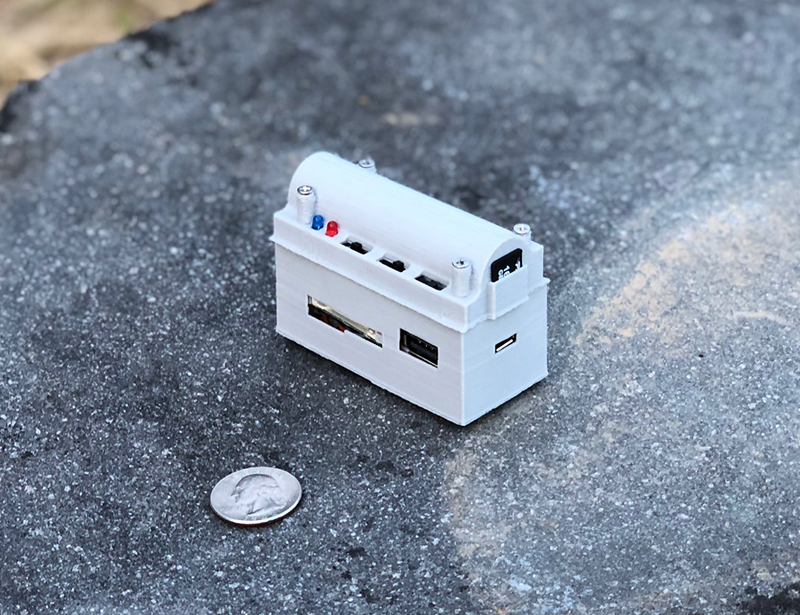
- Automatic file copier with SD card slots
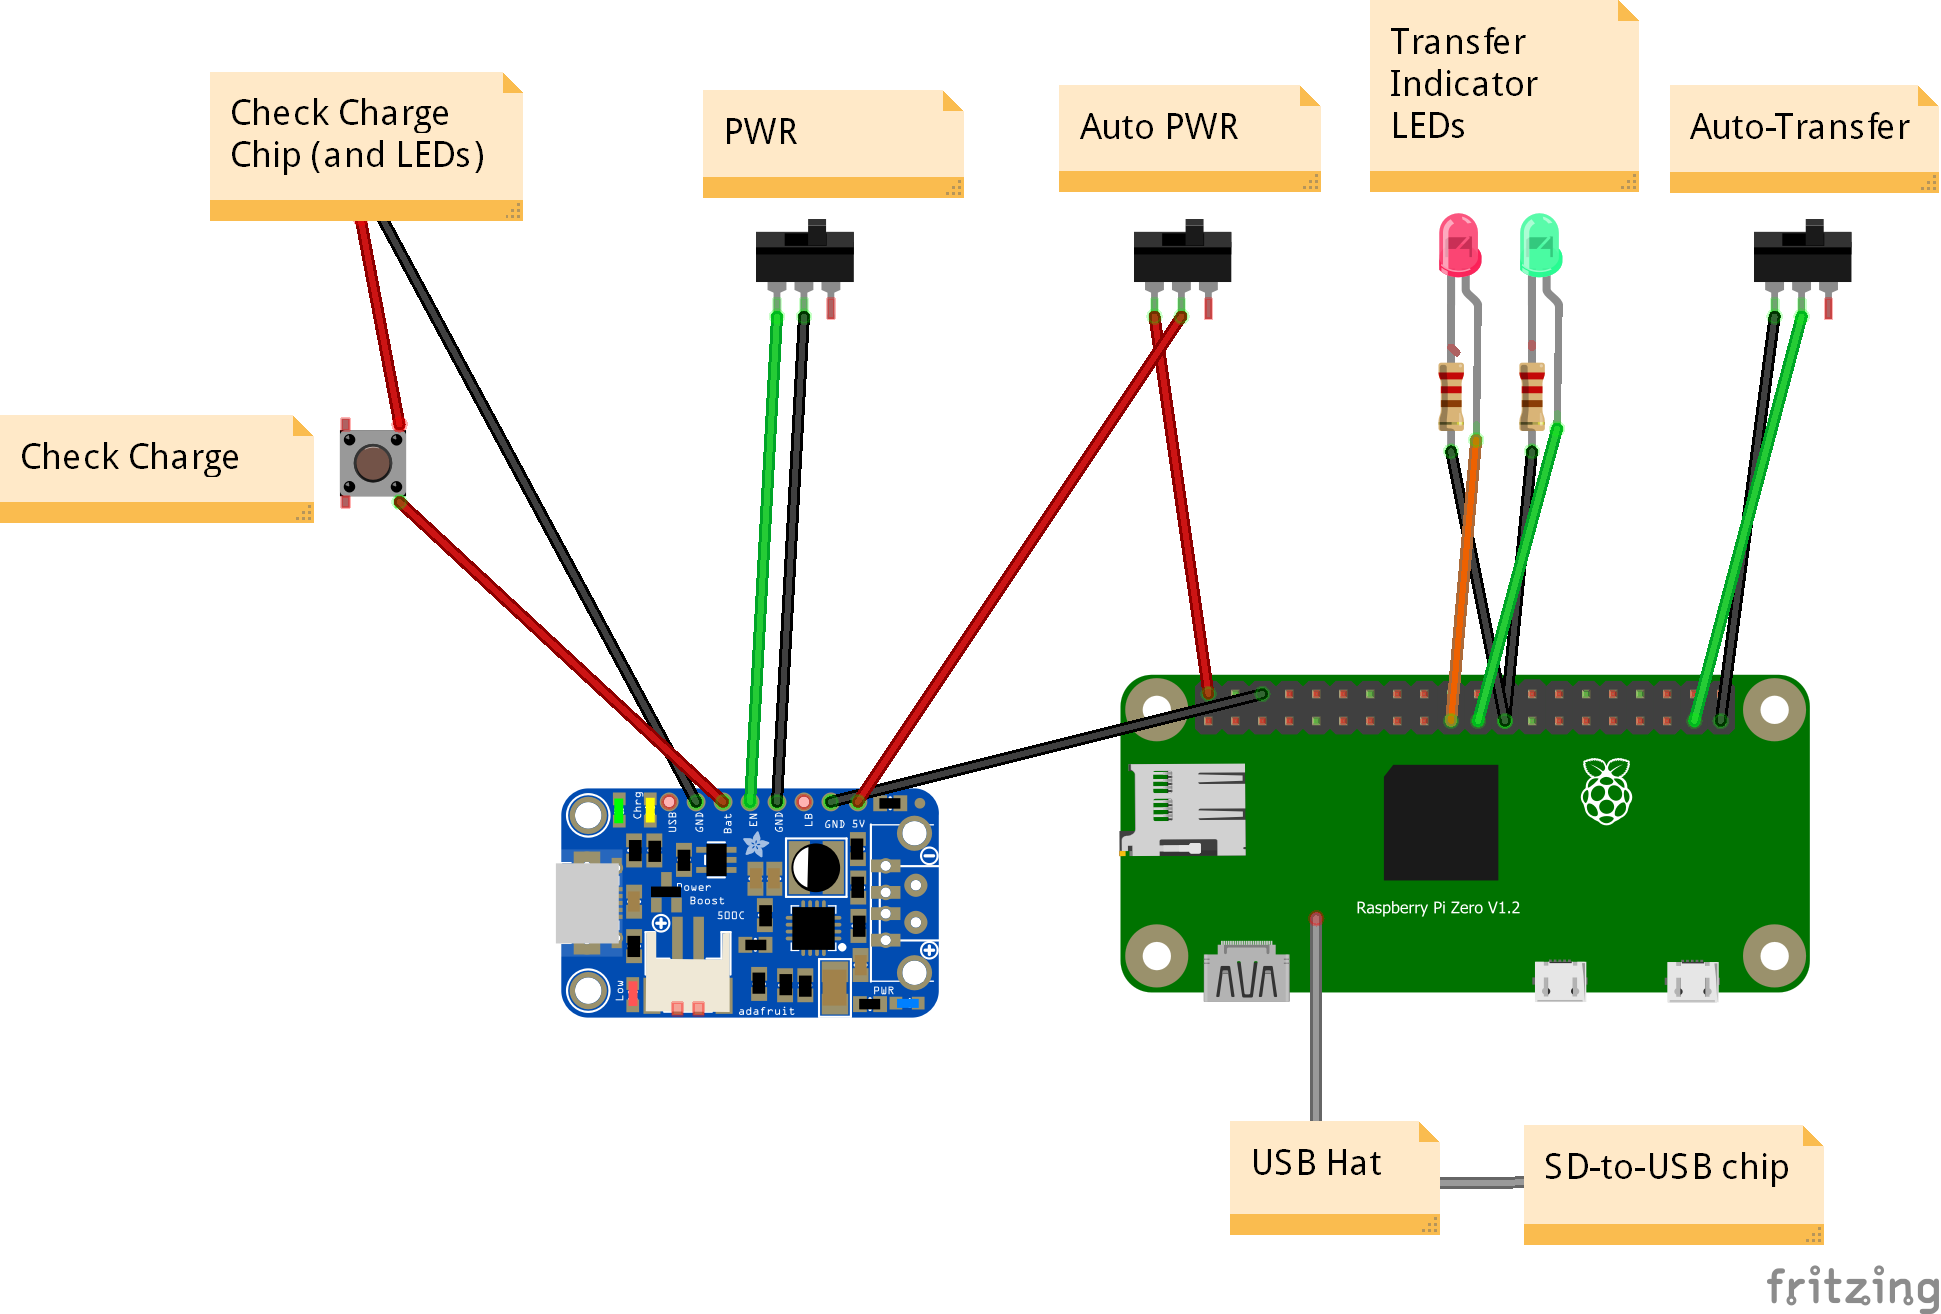
- LED indicators for file transfer
- 3 Switches, USB power, auto (PI) power, and auto-transfer.
- ~1 full cell phone battery charge
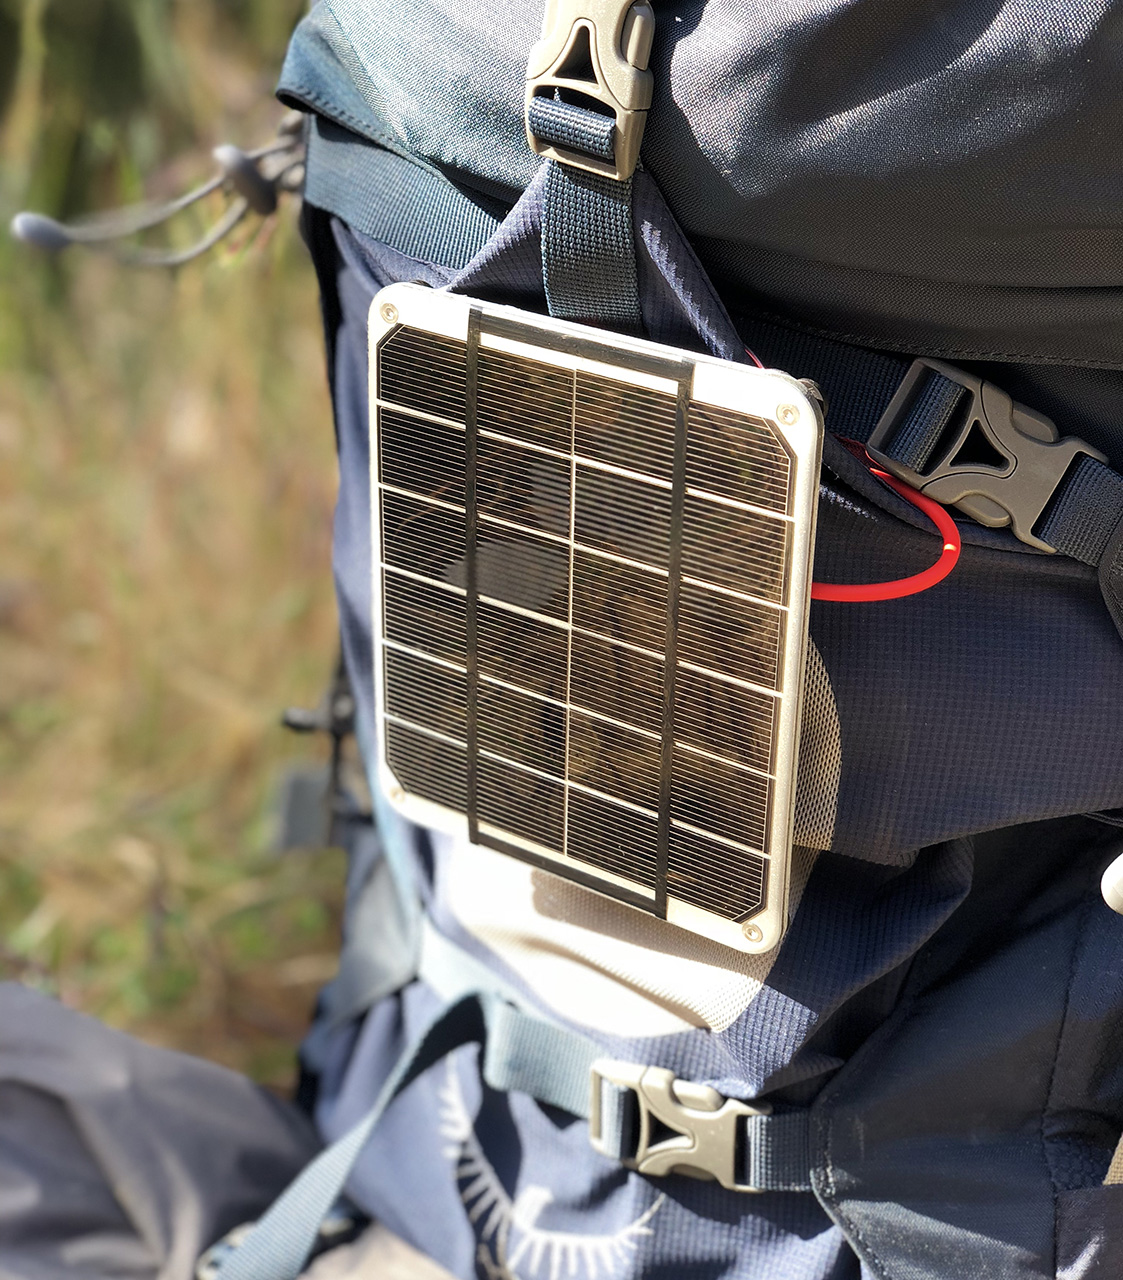
- Solar Panel battery recharger
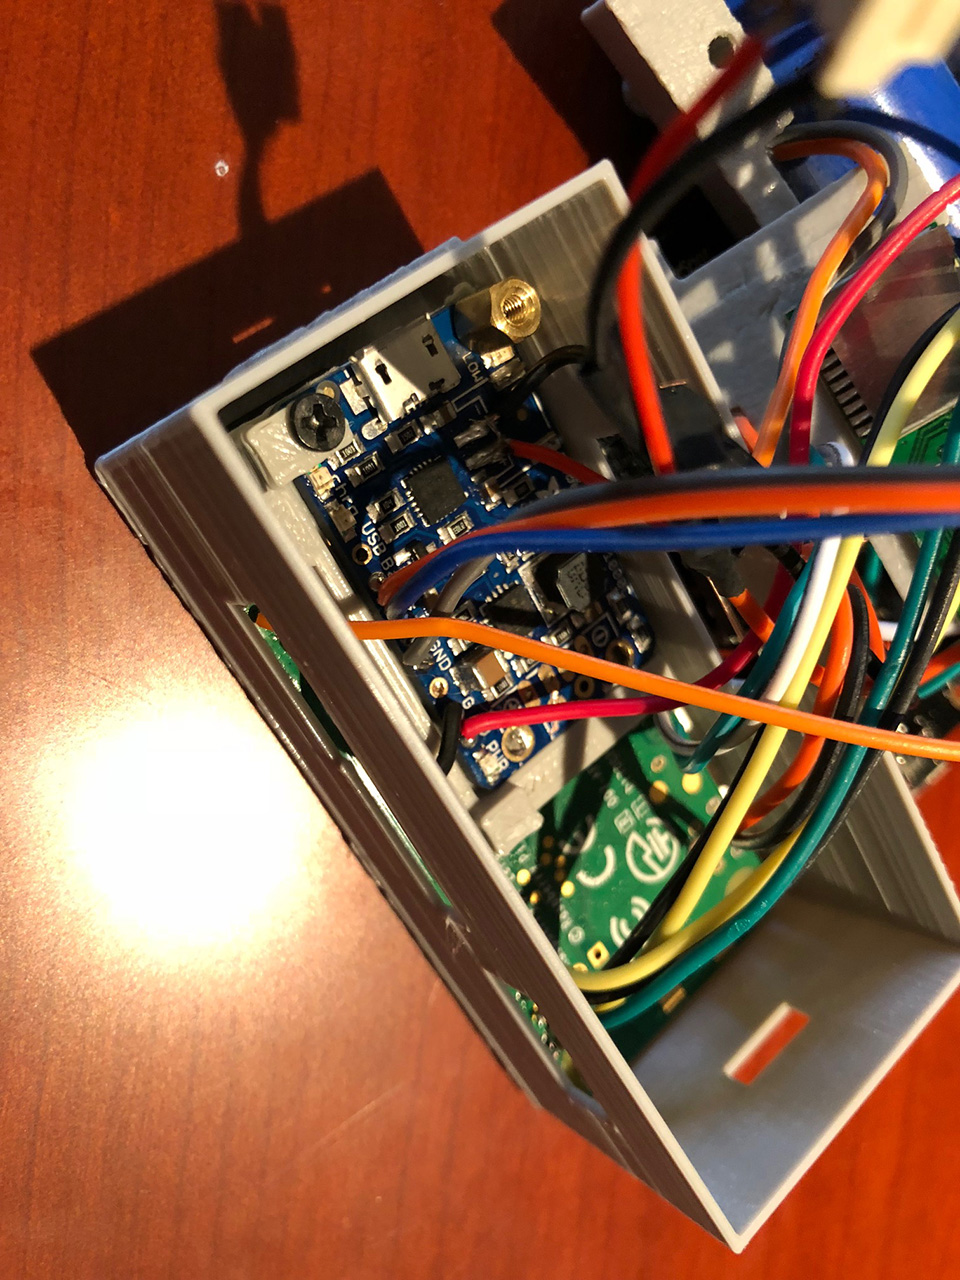
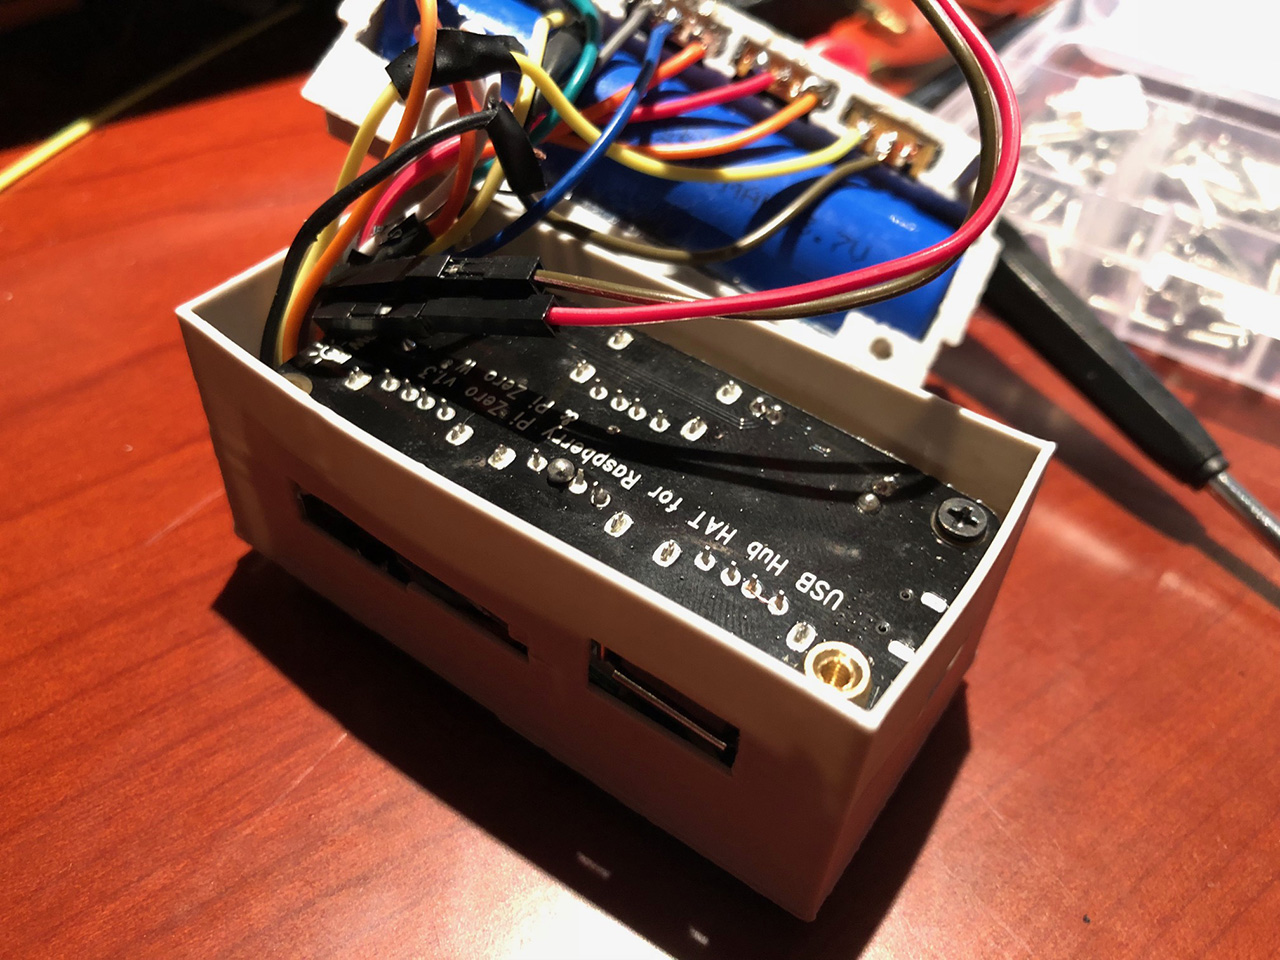
- Linux computer (raspberry pi zero) with USB slots for keyboard/mouse.
- Portable IoT driver (GPIO pins are exposed underneath)
3D Printed STL Files on Thingiverse
Python script to automatically copy files
Keep reading for assembly information and more details!
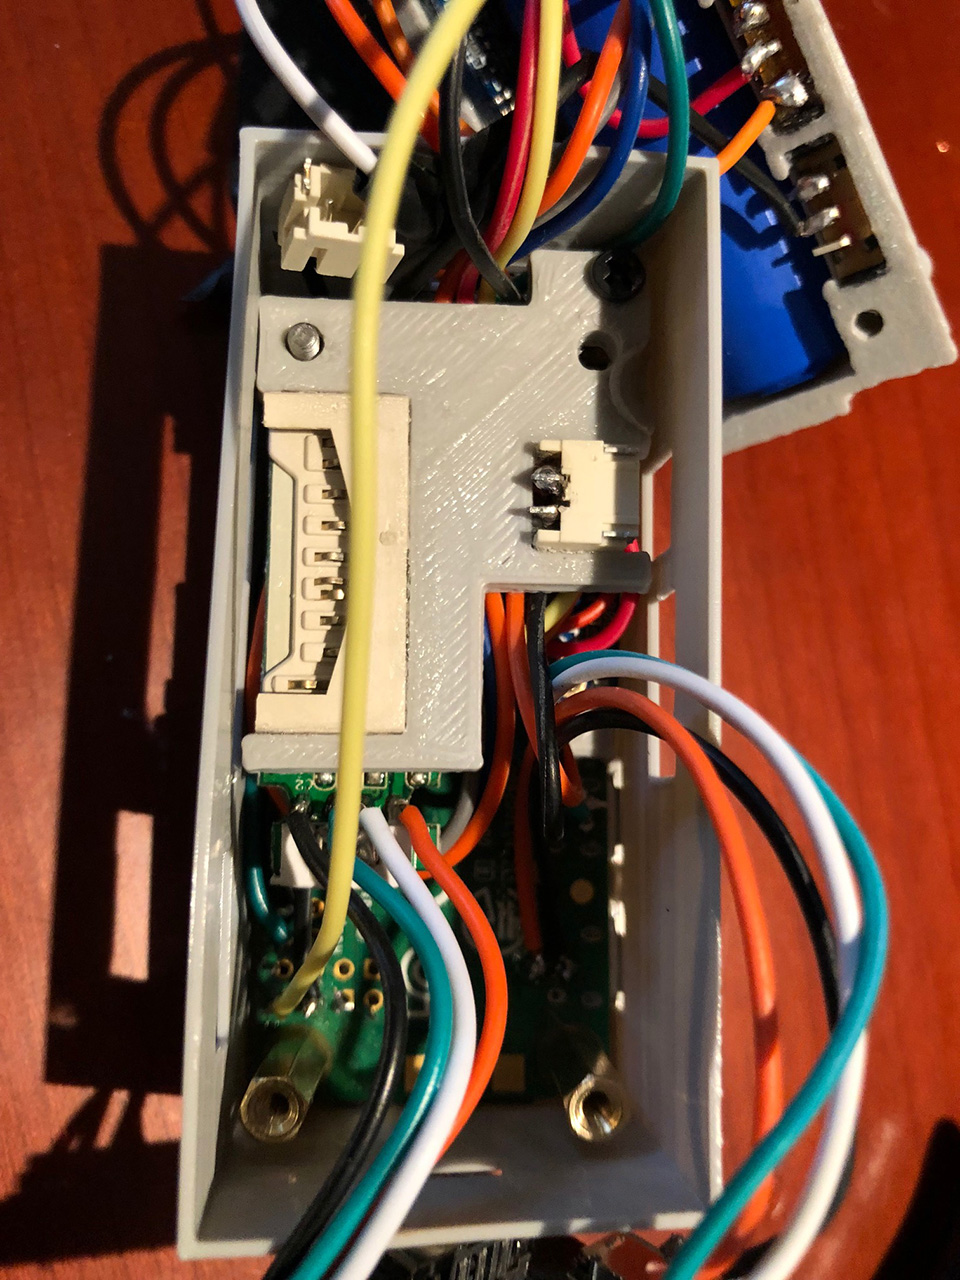
 Fully detailed assembly instructions are still a work-in-progress. Parts
Part Notes
Part Assembly (work-in-progress)
Future Improvements
Closing Thoughts
Discussion
|
Share
|